
When I was making my Mummy Craft, I had so much fun experimenting with different materials for the mummy’s wrapping. Each one gave the little mummies a different look, and some were a lot easier to work with than others.
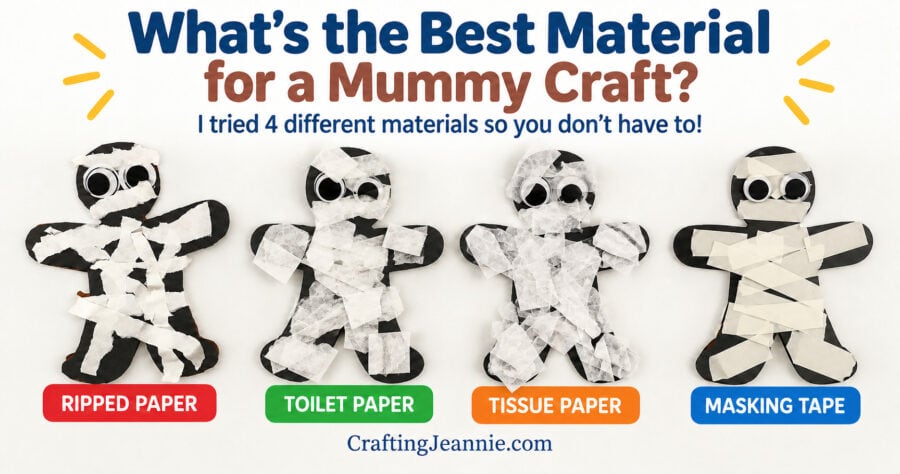
If you’re planning this craft for a classroom, Halloween party, or a fun afternoon at home, here’s what I learned about the best (vs the messiest) mummy wrap materials.
Fine Motor Skills: Ripping, Cutting, and Gluing
This simple Halloween craft is also a sneaky way to work on fine motor skills, which makes it a great choice for preschoolers, kindergartners, and early elementary kids.
Ripping:
When children tear paper, they strengthen the small muscles in their hands and fingers – the same muscles used for writing, buttoning, and cutting. Ripping also builds control and coordination as they decide where to tear and how big to make each piece.
Cutting:
If your little crafters are using scissors, cutting mummy “bandages” is excellent fine motor practice. It builds hand-eye coordination and helps develop bilateral coordination (using both hands together).
Gluing:
Whether you’re using a glue stick or a squeeze bottle, gluing down the strips gives kids practice in precision, control, and creativity. Plus, it’s just plain fun!
Teacher Tip: Let kids do all the ripping, cutting, and gluing themselves, these small steps make a big difference in strengthening fine motor skills!
Materials I Tried
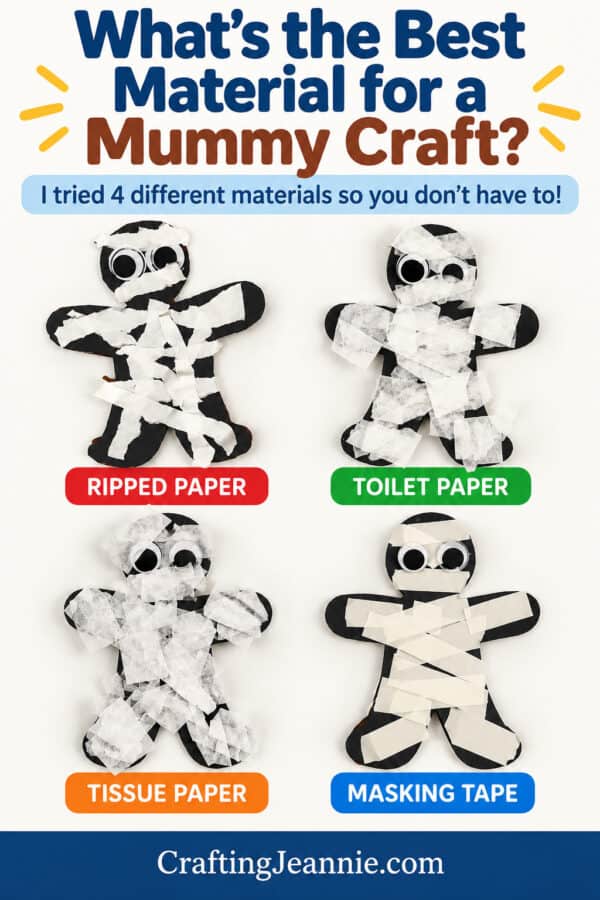
I tested four different materials for the mummy wrapping:
- Ripped-up paper
- Toilet paper
- Tissue paper
- Masking tape
Each option gives your mummy a unique look and each one has its own pros and cons. Here’s what I thought about them.
Ripped-Up Paper
Spoiler Alert – This one was my favorite.
Ripped paper was so easy to work with. I could control the size of the strips, and they didn’t stick to my fingers or tear too easily.
It also gave the mummies a fun, textured look that held up well once glued down.
If you’re crafting with a group of kids, this is the one I’d recommend most.
It’s simple, clean, always looks great, and is perfect for all ages.
Toilet Paper
Okay, this one was so fun, but also a little messy.
The toilet paper definitely gives your mummy that authentic “wrapped up” look, but it sticks to your fingers and tears easily (especially if you use glue sticks).
My toilet paper had little flowers printed on it, so that didn’t really match the Halloween theme. So make sure you get plain TP when you shop.
The kids loved it. It felt silly and perfectly Halloween-y. If you’re brave enough for a little mess, this one’s a hit!
Tissue Paper
Similar to toilet paper, tissue paper can be tricky. It’s lightweight, so it tends to cling to fingers and wrinkle easily. But if you take your time, the end result looks soft and spooky.
I’d suggest using it for smaller groups or with older kids who have a little more patience.
Masking Tape
Masking tape was by far the easiest to work with (no glue needed). It sticks perfectly, and you can tear it into strips fast.
The downside? It doesn’t look quite as “mummy-like” as the softer papers. The texture is smooth, and the color is a bit plain.
If you’re short on time or working with very young crafters, masking tape is a good option.
Final Thoughts
Each material had its moment, but if I had to pick a winner: ripped-up paper is the way to go!
It’s sturdy, clean, and gives your mummy just the right amount of texture without the frustration of sticky fingers.
No matter what you use, though, the real fun is in experimenting. Try a few materials and see which one your little crafters like best.