Download the Free Water Cycle Printable and make this Easy Water Cycle Activity for kids. Find Easy Crafts for kids on CraftingJeannie.com

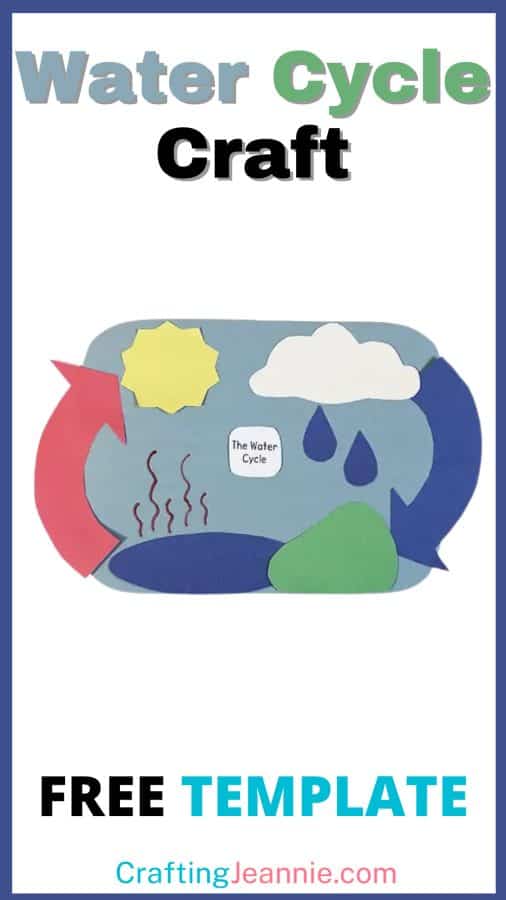
Check out this Water Cycle craft, Your kids will have fun learning about the water cycle while making this simple craft. Get the Free Water Cycle Craft Template below and you will be able to make enough supplies for a group of 20 kids (or more!) with about 10 minutes of cutting.
This simple craft is the perfect way to introduce preschoolers and kindergarteners to the water cycle steps. You can talk with the children about precipitation, collection, evaporation and condensation.
Make this Water Cycle craft for Kindergarten while reading these Fun Books:


Here’s What You Need
Here’s your Water Cycle craft supply list (This post contains affiliate links to the products mentioned. Read my disclosure policy for more information):
- Free Water Cycle Printable<— Get it Here
- construction paper, colored copy paper, or colored cardstock
- scissors
- stapler
- glue sticks
Watch the Water Cycle Video to do this Water Craft for Preschoolers.
Did you know that human activities can actually alter the water cycle steps? Learn more on Wikipedia.com
Step 1: Download and Print the Free Water Cycle Printable PDF
Download the Free Water Cycle Template. You will be stapling the printed PDF to sheets of colored paper to cut out the shapes.

Step 2: Staple and Cut Out the Water Cycle Craft Shapes

Once you have the print outs, staple them to construction paper and cut out the shapes you need.
Note: If you want to make this craft with a group of kids, you can staple the template to up to 10 sheets of copy paper, 5 sheets of cardstock or 5-8 sheets of construction paper.
So, did you know that you can staple together 10 pieces of copy paper and cut out 10 shapes at a time?! That’s my SECRET to fast & easy crafting. Stapling the paper is very important because it makes sure it doesn’t move as you cut. The more staples the better. Cardstock is the thickest so you may only be able to cut 5 sheets at a time.
Tip: While you’re cutting, if you cut off all parts of the pages that have staples, make sure to re-staple the sheets that are left. Whenever you’re cutting multiple sheets at a time, make sure they are always stapled together.
Step 3: Round the corners of blue paper for the craft base
This step is optional. I used a standard sheet of light blue construction paper as the base of the craft. You can use any color you want.
I rounded the corners of the paper to make it feel more like an oval to show the water cycle as a never-ending circle.
To do this, stack a few sheets of paper and gently fold them in half. Then, trim all of the corners at one time. See the image below.

Step 4: How to Assemble this Simple Water Cycle for Preschool

I recommend having a finished craft so the children can see what the final version will look like.
- Start by gluing the blue lake onto the bottom of the paper (this is the collection part of the water cycle).
- Glue the green mountain next to the lake.
- Next, glue the sun onto the top left side of your paper.
- Then, glue the white cloud next to the sun onto the top right side of your paper.
- Glue the raindrops under your cloud (this is the precipitation part of the water cycle).
- Next, glue the blue arrow pointing downward to show that precipitation falls down from the clouds onto the mountain and lake.
- Then, glue the red arrow going upwards to show that the sun evaporates the water and it collects in the clouds (water turning into clouds is the condesation part of the water cycle).
- Optional: Use a red marker to draw evaporation lines rising from the lake.
- Optional: Glue “The Water Cycle” label to the center of your page.
- Don’t forget to write your name on the back.

Step 1: Start by gluing the blue lake onto the bottom of the paper.

Step 2: Glue the green mountain next to the lake.

Step 3: Next, glue the sun onto the top left side of your paper.

Step 4: Then, glue the white cloud next to the sun onto the top right side of your paper.

Step 5: Glue the raindrops under your cloud.

Step 6: Next, glue the blue arrow pointing downward to show that precipitation falls down from the clouds onto the mountain and lake.

Step 7: Then, glue the red arrow going upwards to show that the sun evaporates the water and it collects in the clouds.

Step 8: Optional: Use a red marker to draw evaporation lines rising from the lake.

Step 9: Finally, you can glue “The Water Cycle” label to the center of your page. Don’t forget to write your name on the back.

And you’re finished with your Water Cycle for Kindergarten
This is a great science activity for preschool or a craft to make just for fun. Because, it’s so simple, it’s the perfect Water Cycle Craft for Preschoolers, Kindergarteners, Toddlers, or Daycare.
More Easy Paper Crafts for Kids
If you liked this craft, check out some of my other Paper Crafts for Kids.
As always, I try to make my crafts fast, easy & inexpensive. Enjoy.
Want to remember this Water Cycle for Kids? Post this craft to your favorite Pinterest board